Welcome! This guide details installation, operation, and maintenance of your Electrolux oven, ensuring optimal performance and a superior user experience.
Congratulations on choosing an Electrolux oven! This user guide is designed to familiarize you with your new appliance, ensuring safe and efficient operation; Please dedicate a few moments to study this manual thoroughly. Understanding its contents will unlock the full potential of your oven, delivering ease of mind and a superior cooking experience.
We encourage you to explore our online resources, including downloadable manuals and brochures, available at www.youtube.com/electrolux and www.youtube.com/aeg.
Safety Instructions
Important Safety Precautions: Prioritize safety during installation, cleaning, and operation. This appliance must be installed correctly to avoid hazards. Read all warnings carefully before use. Ensure proper ventilation as specified in the installation guidelines (see section 8). Disconnect power before any maintenance.
Failure to follow these instructions could result in injury or damage. Refer to the full safety instructions within this manual for comprehensive guidance.
General Safety Warnings
Caution! The oven surfaces become hot during and after use. Avoid touching heating elements or interior surfaces without protection. Keep children away during operation. Do not use abrasive cleaners, as they can damage the enamel coating. Changes in enamel color are normal and do not affect functionality.
Always ensure the oven is stable and properly installed before use to prevent tipping or damage.
Installation Safety
Important: Installation must be performed by a qualified technician. Ensure the electrical connection meets requirements (H05 V V ⏤ F 245, 490). Maintain minimum ventilation gaps of 4x25mm and 2xmm (refer to diagrams). Built-under installations require specific dimensions (594x589mm).
Incorrect installation voids the warranty and may create a safety hazard. Consult the provided installation guide and YouTube resources for detailed instructions.
Operational Safety
Caution: The oven surfaces become extremely hot during and after use. Avoid touching heating elements or interior surfaces without proper protection. Never use abrasive cleaners, as they can damage the enamel coating. Changes in enamel color are normal and do not affect functionality.
Always supervise children when the oven is in operation. Ensure proper ventilation during self-cleaning cycles (if applicable).
Description of the Appliance
Your Electrolux oven is designed for efficient and versatile cooking. This section provides an overview of its key components, control panel features, and included accessories. Familiarize yourself with these elements to maximize your cooking experience. The appliance boasts a robust build and user-friendly interface.
Refer to the detailed diagrams for component locations and function explanations.
Oven Components Overview
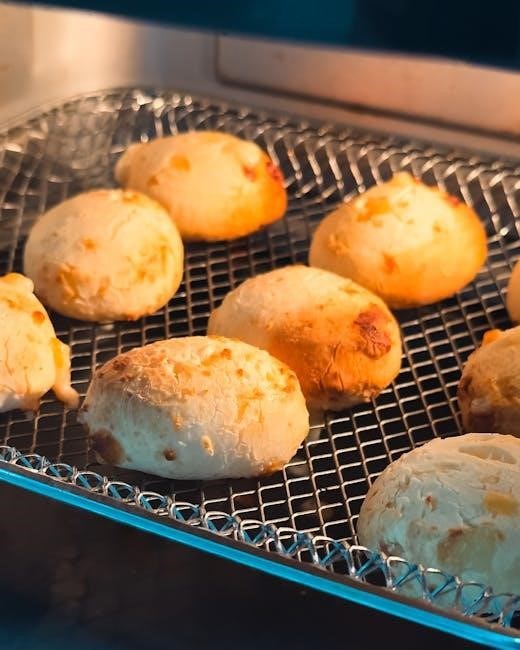
Key components include the oven cavity, heating elements (top and bottom), cooling fan, and door with viewing window. The interior features enamel coating for easy cleaning. The oven’s dimensions are carefully designed for optimal heat distribution. Locate the catalytic liners (if equipped) for self-cleaning assistance.
Understanding these parts ensures safe and effective operation.
Control Panel Features
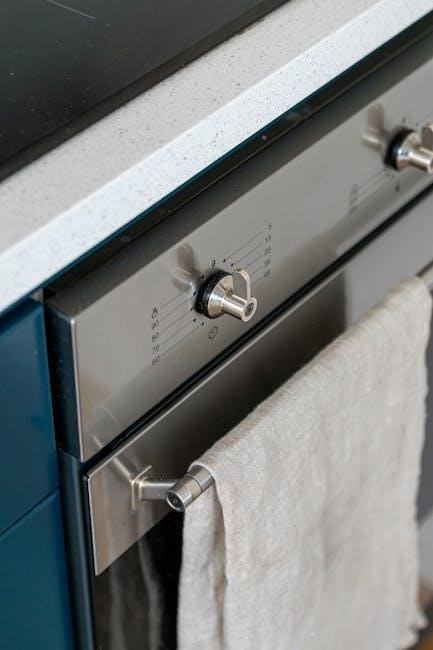
The control panel houses the mode selector dial, temperature control knob, and timer settings. Digital displays show current temperature and remaining cooking time. Dedicated buttons activate functions like self-cleaning (if applicable) and lighting. Explore pre-programmed cooking modes for convenience. Familiarize yourself with symbol meanings for effortless operation.
Proper use unlocks the oven’s full potential.
Accessories Included
Your Electrolux oven typically includes several accessories to enhance cooking versatility. Expect at least one or two oven racks for multiple dish placement, alongside a baking tray ideal for cookies or roasting. A deeper baking sheet is often provided for larger items. Some models feature a grill pan for direct grilling.
Refer to the packaging list to confirm all included items.
Before Using for the First Time
Prior to initial use, a thorough preparation process is crucial. Begin with a complete cleaning procedure to remove any manufacturing residues or packaging materials. Carefully set the correct clock time for accurate timer functions.
Subsequently, perform a first-time heating cycle – typically a high-temperature bake for 30-60 minutes – to burn off any remaining odors. Ensure adequate ventilation during this process.
Initial Cleaning Procedure

Before first use, remove all packaging and protective films from both the oven interior and exterior. Wash the oven cavity, racks, and baking trays with warm, soapy water. Rinse thoroughly and dry completely.
Avoid abrasive cleaners, as they may damage the enamel coating. For stubborn residues, a mild oven cleaner can be used, following the manufacturer’s instructions carefully; Ensure all cleaner residue is removed before use.
Setting the Clock
To set the clock, locate the ‘Clock’ or ‘Time’ button on the control panel. Press and hold this button until the hour display flashes. Use the arrow buttons (or corresponding controls) to adjust the hour. Repeat the process for minutes.
Confirm your settings by pressing the ‘Clock’ or ‘Start’ button. Accurate time setting is crucial for timer functions and delayed start features to operate correctly.
First Time Heating Cycle
Before first use, run a heating cycle to burn off any manufacturing residues. Select a medium temperature, around 150°C (300°F), and set the oven to bake for approximately 30-60 minutes.
Ensure the oven is empty during this process. A slight odor may be present – this is normal and will dissipate with ventilation. This initial cycle prepares the oven for optimal cooking performance and safety.
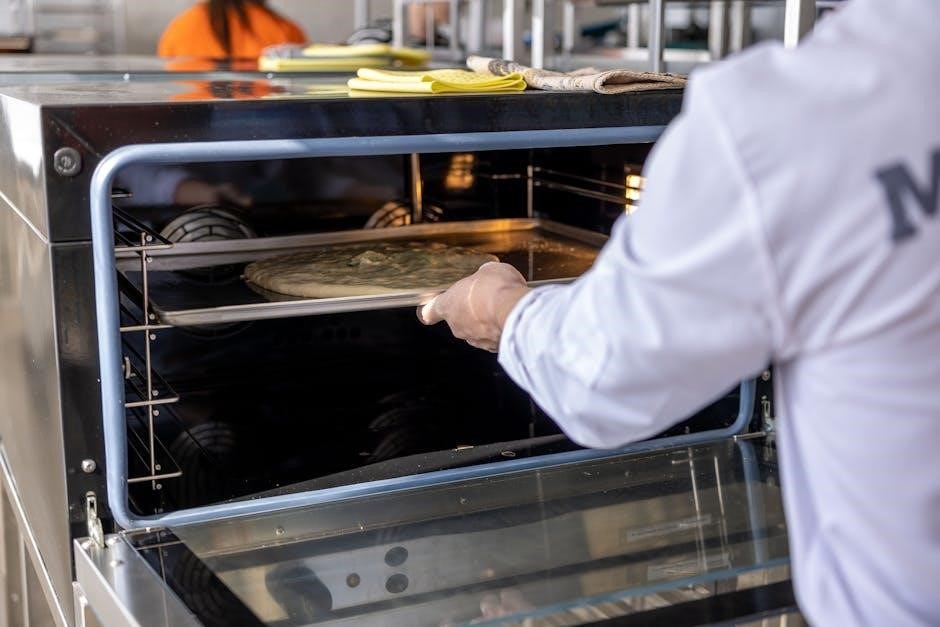
Operating the Oven
Your Electrolux oven offers diverse cooking modes for versatile meal preparation. Familiarize yourself with options like bake, broil, convection, and specialized settings. Precise temperature control is crucial; adjust using the control panel.
Utilize the timer function for convenient cooking management, setting durations for automatic shut-off. Understanding these features unlocks the full potential of your appliance, ensuring delicious results every time.
Understanding Oven Modes
Electrolux ovens feature various modes tailored to specific cooking needs. Bake mode provides consistent heat for general cooking, while broil excels at browning and searing. Convection utilizes a fan for even heat distribution, ideal for multiple racks.
Specialized modes, like pizza or roast, optimize settings for particular dishes. Explore each mode to discover its unique benefits and achieve perfect culinary outcomes.
Temperature Settings & Control
Precise temperature control is crucial for successful baking and roasting. Your Electrolux oven allows adjustments within a wide range, typically from 175°F to 550°F. Use the control panel to set the desired temperature accurately.
Remember that actual oven temperature may vary slightly. For best results, utilize an oven thermometer to verify and adjust accordingly, ensuring consistent cooking performance.
Using the Timer Function
The timer function offers convenience and precision in your cooking. You can set a countdown timer for overall cooking duration, or utilize a delayed start feature for pre-programmed cooking.
Access the timer controls on the control panel, inputting the desired time. The oven will automatically shut off when the timer reaches zero, preventing overcooking. Experiment with these features to optimize your meal preparation!
Installation
Proper installation is crucial for safe and efficient oven operation. This section details built-under oven installation, electrical connection requirements, and essential ventilation specifications.
Ensure adequate space – minimum 4x25mm and 2xmm – for ventilation, referencing provided diagrams. A qualified technician should handle electrical connections (H05 V V ⸺ F 245, 490). Consult the YouTube videos (www.youtube.com/electrolux, www.youtube.com/aeg) for visual guidance.
Built-Under Oven Installation
Carefully slide the oven into the designated built-under space, ensuring it’s level and securely positioned. Refer to the dimensional specifications (18, 594, 589 mm) for proper fit.
Utilize the YouTube installation guides (www.youtube.com/electrolux, www.youtube.com/aeg) for a step-by-step visual walkthrough. Confirm adequate ventilation clearances (4x25mm, 2xmm) are maintained. Secure the oven to the cabinetry according to the manufacturer’s instructions for stability.
Electrical Connection Requirements
Ensure the electrical supply matches the oven’s rating label. A dedicated circuit is recommended for optimal performance. The required cable type is H05 V V ⏤ F, with a length of 245-490mm.
Qualified personnel must perform the electrical connection, adhering to local regulations. Improper wiring can lead to hazards. Verify correct grounding. Disconnect power before any electrical work. Always prioritize safety during installation and connection procedures.
Ventilation Requirements (mm measurements)
Proper ventilation is crucial to prevent overheating and ensure optimal oven performance. Maintain a minimum clearance of 4x25mm around the appliance for airflow.
Specifically, ensure 2x25mm of space on either side. Refer to installation guides for detailed diagrams. Adequate ventilation prevents moisture buildup and maintains consistent temperatures. Incorrect ventilation may void the warranty and affect cooking results. Prioritize these measurements during built-under installation.
Cleaning and Maintenance
Regular cleaning maintains your Electrolux oven’s performance and longevity. Utilize the self-cleaning function, if equipped, following provided instructions carefully. For manual cleaning, employ mild detergents and avoid abrasive materials.
Cooling racks and trays should be washed separately. Changes in enamel coating color during use are normal and do not affect functionality or warranty coverage. Always disconnect power before cleaning.
Self-Cleaning Function (if applicable)
The self-cleaning function utilizes high temperatures to burn off food residue, eliminating the need for manual scrubbing. Remove all racks and accessories before initiating the cycle. Ensure proper ventilation during operation, as it may produce odors.
Follow the detailed instructions in this guide for cycle duration and safety precautions. Do not interrupt the self-cleaning process, and allow the oven to cool completely afterward.
Manual Cleaning Procedures
For regular maintenance, disconnect the oven from power and allow it to cool completely. Use a mild detergent and warm water to clean the interior surfaces. Avoid abrasive cleaners, which can damage the enamel coating.
Stubborn stains may require a paste of baking soda and water. Rinse thoroughly with clean water and dry with a soft cloth. Clean the door gasket regularly to maintain a proper seal.
Cooling Rack and Tray Cleaning
To ensure optimal oven performance, regularly clean cooling racks and trays. These components can be washed by hand with warm, soapy water, or placed in a dishwasher if dishwasher-safe – check your model’s specifications.
For baked-on food residue, soak the racks and trays in hot, soapy water before scrubbing. Avoid using abrasive cleaners that could damage the non-stick coating, if applicable.
Troubleshooting
Encountering issues with your Electrolux oven? This section provides solutions for common problems. Check for error codes displayed on the control panel and consult the corresponding meanings listed within this guide.
If the oven fails to heat, verify the power supply and settings. For persistent issues, or unfamiliar error codes, contacting Electrolux support is recommended for professional assistance and repair services.
Common Issues and Solutions
Experiencing uneven baking? Ensure proper rack placement and avoid overcrowding. If the oven isn’t reaching temperature, double-check the settings and power connection. Changes in enamel coating color are normal and don’t affect functionality.
For cleaning concerns, utilize the self-cleaning function (if equipped) or follow manual cleaning procedures. Always disconnect power before any maintenance. Refer to the full manual for detailed guidance.
Error Codes and Meanings
Electrolux ovens utilize error codes to diagnose issues. While specific codes vary by model, consult your oven’s display panel and the comprehensive user manual for detailed explanations. Common codes may indicate sensor malfunctions, heating element failures, or temperature regulation problems.
Record the error code before contacting support. This information will expedite the troubleshooting process and ensure a faster resolution to your oven’s operational concerns.
What to Do If the Oven Doesn’t Heat
If your Electrolux oven fails to heat, first verify the power supply and ensure the oven is correctly connected. Check the control panel settings – confirm a cooking mode and temperature are selected. Examine for tripped circuit breakers or blown fuses in your home’s electrical panel.
If the issue persists, consult the error code section of this guide or contact Electrolux support for assistance.
Warranty Information
Your Electrolux oven is covered by a warranty protecting against manufacturing defects in materials and workmanship. Warranty coverage details, including duration and specific terms, are outlined in the separate warranty document included with your appliance. To initiate a warranty claim, retain your proof of purchase and contact Electrolux customer support.
Please review the warranty for exclusions and limitations.
Warranty Coverage Details
The Electrolux oven warranty typically covers defects in materials and workmanship for a specified period from the date of original purchase. Coverage may include parts and labor for repairs or replacement, as determined by Electrolux. However, the warranty does not cover damage resulting from misuse, improper installation, or normal wear and tear. Changes in enamel coating color are also typically excluded.
How to Claim Warranty
To initiate a warranty claim, contact Electrolux Support with your model number, serial number, and proof of purchase. Be prepared to describe the issue in detail. Electrolux may request photos or videos to assess the problem. Authorized service centers will handle repairs or replacements. Keep all documentation related to your claim, including repair orders and correspondence.
Recycling Information
Electrolux is committed to environmental responsibility. When disposing of your oven, do not simply discard it with household waste. Instead, utilize designated recycling facilities to recover valuable materials. Proper disposal minimizes environmental impact and conserves resources. Check with your local authorities for recycling options. Responsible recycling ensures a sustainable future, aligning with Electrolux’s environmental goals.
Responsible Disposal of the Appliance
Electrolux encourages responsible appliance disposal. Do not dispose of your old oven with regular household trash. Instead, locate a certified recycling center to recover valuable materials, minimizing environmental harm. Contact local waste management services for guidance on proper disposal procedures. Ensure all personal data is removed. Supporting recycling contributes to a circular economy and reduces landfill waste, aligning with sustainability efforts.

Frequently Asked Questions (FAQ)
Common user queries regarding Electrolux ovens are addressed here. Questions often involve cleaning cycles, error code interpretations, and optimal cooking modes. Refer to the troubleshooting section for common issues. For specific model details, consult the full user manual. Visit the Electrolux website for additional support resources, including video tutorials and downloadable guides. Contact customer support for personalized assistance with any unresolved concerns.
Common User Queries
Users frequently ask about self-cleaning function operation and duration. Many inquire about interpreting specific error codes displayed on the control panel. Questions also arise regarding appropriate temperature settings for various recipes. Some users seek clarification on utilizing the timer function effectively. Others want to know about enamel coating color changes and warranty coverage. Refer to the manual for detailed answers and troubleshooting steps.
Service Terms & Conditions
For repair services or support, contact Electrolux directly through their official channels. Warranty claims require proof of purchase and adherence to the warranty coverage details outlined in the documentation. Service appointments may incur costs if the issue isn’t covered under warranty. Electrolux reserves the right to authorize repair technicians. Always ensure a qualified professional handles oven repairs for safety and optimal performance.
Contacting Electrolux Support
Reach Electrolux support for assistance with your oven through their official website or dedicated customer service phone line. Online resources, including FAQs and manuals, are available at www.electrolux.com. Prepare your oven’s model number and serial number before contacting support for faster service. Detailed information regarding repair services and warranty claims can also be found online. Prompt assistance is their priority.
Repair Services Information
Electrolux offers comprehensive repair services for your oven, performed by qualified technicians. Service requests can be submitted through the Electrolux website or by contacting their customer support line. Ensure you have your model and serial number ready. Repairs may be covered under warranty, depending on the issue and warranty terms. Out-of-warranty repairs will incur a service charge, plus the cost of any replacement parts;