Safety 1st Thermometer Instructions: A Comprehensive Guide
Safety 1st offers diverse thermometers – 3-in-1, rectal, forehead, and ear models – each requiring specific usage for accurate readings; This guide details
instructions,
care,
and
troubleshooting.
Understanding Safety 1st Thermometer Models
Safety 1st provides a range of thermometers designed for different needs and age groups. The 3-in-1 Nursery Thermometer offers versatility with oral, rectal, and underarm usage, featuring an analog display. For quicker results, the 5-Second Rectal Thermometer is specifically designed for rectal temperature readings, prioritizing speed and accuracy.
Those seeking non-invasive options can choose between the Simple Scan Forehead Thermometer and the Easy Read Forehead Thermometer. The Simple Scan provides a quick forehead scan, while the Easy Read utilizes LED dots for precise alignment. Finally, the Ear Thermometer delivers fast readings by measuring infrared heat within the ear canal.
Understanding these distinctions is crucial for selecting the appropriate thermometer and utilizing its features effectively. Each model has unique instructions, ensuring accurate temperature measurement and informed healthcare decisions for your child.
Safety 1st 3-in-1 Nursery Thermometer: Overview
The Safety 1st 3-in-1 Nursery Thermometer is a versatile analog thermometer designed for multiple measurement sites – oral, rectal, and underarm. This flexibility makes it a practical choice for monitoring a child’s temperature as they grow. Its analog display provides a clear, easy-to-read temperature indication without relying on batteries.
This thermometer is particularly useful for parents seeking a traditional method of temperature taking. It’s often available in packs of two, offering a spare for convenience or different locations within the home. The design prioritizes simplicity and reliability, making it a straightforward tool for basic temperature monitoring.
While it doesn’t offer the rapid readings of digital models, its ease of use and battery-free operation make it a dependable option. Remember to follow specific instructions for each measurement site to ensure accuracy.
Safety 1st 5-Second Rectal Thermometer: Specifics
The Safety 1st 5-Second Rectal Thermometer is engineered for quick and accurate temperature readings when a rectal measurement is necessary. This method is considered highly reliable, especially for infants and young children. The thermometer’s design prioritizes speed, delivering a reading in approximately five seconds, minimizing discomfort for the child.
It’s crucial to use a lubricant specifically designed for rectal thermometers to ensure comfortable and safe insertion. Gentle insertion is key, and the thermometer should not be forced. Always clean the thermometer thoroughly before and after each use with soap and water or rubbing alcohol.
This thermometer is specifically designed for rectal use; avoid using it orally or under the arm. Refer to the user guide (Item No TH111 (8267) Effective Date 09-02-22) for detailed instructions and safety precautions. Proper technique is vital for obtaining an accurate reading and ensuring the child’s well-being.

Safety 1st Simple Scan Forehead Thermometer: Features
The Safety 1st Simple Scan Forehead Thermometer (Item No TH106 F (8095B), Effective Date 01-06-21) offers a non-invasive and convenient method for taking a temperature. Its key feature is the speed and ease of use, providing a reading with a quick scan across the forehead. This makes it ideal for squirmy babies or children who dislike traditional thermometers.
This thermometer boasts versatility, functioning as an oral, underarm, or rectal thermometer, though forehead scanning is its primary advantage. It provides an accurate reading in approximately 8 seconds, indicated by a beep when complete; The design focuses on user-friendliness, making temperature checks less stressful for both parent and child.

The Simple Scan thermometer is designed for quick assessments and is a valuable tool for monitoring a child’s temperature. Always consult the user guide for optimal performance and accurate results.
Safety 1st Easy Read Forehead Thermometer: Usage
Taking your child’s temperature with the Safety 1st Easy Read Forehead Thermometer is designed to be quick and straightforward. Begin by ensuring the thermometer’s lens is clean and free of obstructions. Power on the device and position it slightly above your child’s forehead.
Carefully align the red LED dots directly on your child’s forehead, maintaining a distance of approximately 1-2 inches. Press the scan button and hold it until the thermometer beeps, indicating a completed reading. Avoid movement during the scan for accuracy.
The temperature will then be displayed on the screen. Remember to consult the thermometer’s user manual for specific instructions and interpretation of readings. This thermometer offers a non-invasive and comfortable way to monitor your child’s temperature when they aren’t feeling well.
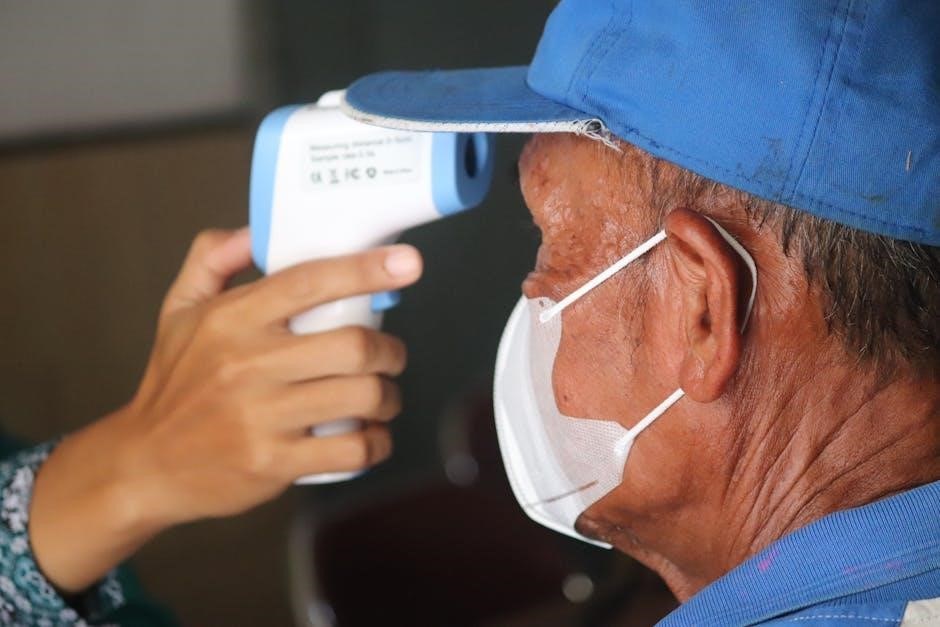
Safety 1st Ear Thermometer: Quick Readings
The Safety 1st Easy Read Ear Thermometer provides a fast and convenient method for obtaining a temperature reading. Before use, ensure the probe is clean and a fresh, protective cover is applied. Gently pull the ear upwards and outwards (for children over six months) to straighten the ear canal.
Carefully insert the thermometer probe into the ear canal, ensuring a secure fit. Press the scan button and hold it until the thermometer beeps, signaling a completed measurement. Avoid movement during the scan to ensure accuracy.
The temperature will be displayed on the screen within seconds. Remember to consult the user manual for proper interpretation of results and age-specific fever ranges. This thermometer is ideal for quick checks, especially when a child is restless or asleep.

Taking a Temperature with Safety 1st Thermometers
Safety 1st thermometers accommodate oral, rectal, axillary, and forehead measurements. Proper technique is crucial for accurate results; always follow the specific instructions for each method.
Oral Temperature Measurement
For oral temperature readings with a Safety 1st thermometer, ensure the device is suitable for oral use – not all models are. Gently place the thermometer under the tongue, towards the back of the mouth. Instruct the individual to close their lips around the thermometer, avoiding biting down.
Maintain this position until the thermometer beeps, typically around 8 seconds for digital models. Avoid eating or drinking anything hot or cold for at least 15-30 minutes before taking an oral temperature, as this can skew the results.
It’s important to note that oral temperatures can be affected by recent activity, such as talking or consuming food/beverages. For infants and young children who cannot reliably hold the thermometer in place, alternative methods like rectal or axillary measurements are recommended. Always clean the thermometer thoroughly after oral use.
Rectal Temperature Measurement: Guidelines
Rectal temperatures are considered the most accurate, especially for infants and young children. Use a Safety 1st thermometer specifically designed for rectal use. Apply a water-based lubricant to the thermometer tip. Gently insert the thermometer no more than ½ to 1 inch into the rectum.

Hold the thermometer securely in place until it beeps, usually within 5-8 seconds. Avoid releasing it prematurely. Never force the thermometer if resistance is met.
Rectal temperatures are typically 0.5 to 1 degree Fahrenheit higher than oral temperatures. Always clean the thermometer thoroughly with soap and water, or an alcohol wipe, after each use. This method requires caution and should be performed gently to avoid discomfort or injury. It’s crucial to use a dedicated rectal thermometer and not alternate it with oral or axillary use.
Axillary (Underarm) Temperature Measurement
Axillary temperature measurement, using a Safety 1st thermometer, is a non-invasive method suitable for all ages, though generally less accurate than rectal or oral readings. Ensure the armpit is dry before starting. Place the thermometer high in the armpit, ensuring direct skin contact – not clothing.
Gently close the arm against the body, holding it securely to maintain contact throughout the measurement process. This helps trap body heat and improve accuracy. Hold still for the duration indicated by the thermometer’s instructions, typically around 8-10 seconds, until a beep signals completion.
Axillary temperatures are typically about 1 degree Fahrenheit lower than oral temperatures. Clean the thermometer after each use. This method is convenient but may require repeating the measurement to confirm the reading, especially if initial results seem unusual.
Forehead Temperature Measurement: Proper Technique
Using a Safety 1st forehead thermometer, like the Easy Read or Simple Scan model, requires precise technique for accurate results. Ensure the forehead is free from sweat, hair, or any obstructions. Position the thermometer in the center of the forehead, typically between the eyebrows and the hairline.
For optimal readings, align the red LED dots (as described in the Easy Read instructions) directly on the forehead. Maintain consistent distance as specified in the user manual – usually within one inch. Press the scan button and hold the device steady until a beep indicates completion, typically within seconds.
Avoid taking readings after exercise, bathing, or if the child has been exposed to extreme temperatures. Always clean the thermometer’s sensor after each use. Remember that forehead temperatures can be influenced by external factors, so consider re-testing if results seem questionable.
Interpreting Temperature Readings
Understanding fever ranges is crucial when using a Safety 1st thermometer. Consult a healthcare professional for guidance and know when medical attention is necessary.

Understanding Fever Ranges in Children
Determining a fever in children requires understanding normal temperature ranges, which can vary based on measurement method. Oral temperatures generally range from 97°F to 99°F (36.1°C to 37.2°C), while rectal temperatures are typically 0.5°F to 1°F (0.3°C to 0.6°C) higher. Axillary (underarm) readings are usually 0.5°F to 1°F lower than oral temperatures.
Generally, a temperature of 100.4°F (38°C) or higher is considered a fever in children. However, slight elevations may not always indicate illness. Low-grade fevers (100.4°F to 102.2°F) can be common with minor viral infections. Higher fevers (above 102.2°F) warrant closer monitoring and potential medical attention, especially in infants and young children.
It’s important to consider the child’s overall condition, not just the number on the thermometer; Look for other symptoms like lethargy, irritability, poor feeding, or difficulty breathing. A child who is playful and alert with a mild fever may not require immediate medical intervention, but a sick-appearing child with a fever should be evaluated by a doctor.
When to Contact a Doctor
Prompt medical attention is crucial in specific scenarios involving a child’s fever. Immediately contact a doctor if a baby under three months old has a rectal temperature of 100.4°F (38°C) or higher. For older children, seek medical advice for fevers exceeding 104°F (40°C), or if a fever persists for more than 24-48 hours.
Beyond the temperature itself, certain accompanying symptoms necessitate a doctor’s visit. These include difficulty breathing, stiff neck, severe headache, persistent vomiting or diarrhea, dehydration (decreased urination, dry mouth), seizures, or any unusual rash. A child who appears extremely lethargic, unresponsive, or inconsolable also requires immediate medical evaluation.
Trust your instincts as a parent. If you are concerned about your child’s condition, even if the fever isn’t exceptionally high, don’t hesitate to contact your pediatrician or seek medical care. Early intervention can prevent complications and ensure your child receives appropriate treatment.
Thermometer Care and Maintenance
Proper cleaning with mild soap and water after each use ensures hygiene. Regularly replace batteries for accurate readings, and refer to the warranty
information
for
details.
Cleaning Your Safety 1st Thermometer
Maintaining a hygienic thermometer is crucial for accurate readings and preventing the spread of germs. After each use, Safety 1st recommends cleaning your thermometer with a soft cloth lightly dampened with water and a mild soap solution. Avoid harsh chemicals, abrasive cleaners, or submerging the thermometer completely in water, as this could damage the internal components.
For probe-style thermometers (oral, rectal, or axillary), pay particular attention to cleaning the probe tip thoroughly. Gently wipe the probe with the dampened cloth, ensuring all traces of bodily fluids are removed. Rinse the cloth with clean water and wipe the probe again to remove any soap residue. Allow the thermometer to air dry completely before storing it.
Forehead thermometers can be cleaned by wiping the sensor lens with a soft, dry cloth. Avoid using liquids on the sensor lens. Regularly inspect the thermometer for any signs of damage, such as cracks or leaks. If damage is detected, discontinue use and consider replacing the thermometer.
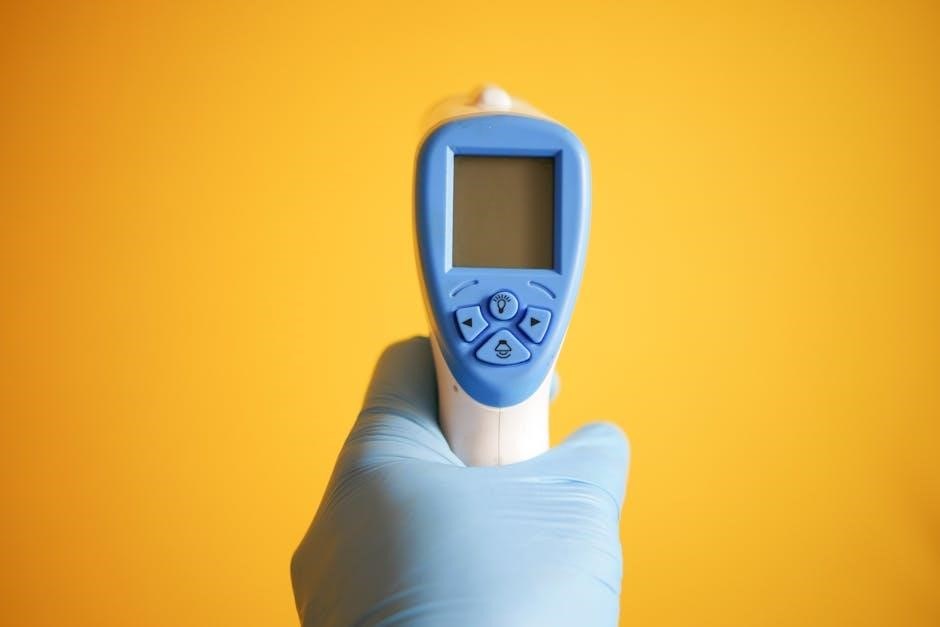
Battery Replacement Instructions
Ensuring your Safety 1st thermometer has sufficient battery power is vital for accurate temperature readings. When the display shows a low battery indicator, or the thermometer fails to power on, it’s time for a replacement. Typically, these thermometers require small button cell batteries, such as CR2032.
Locate the battery compartment, usually found on the back or within the handle of the thermometer. Use a small Phillips-head screwdriver to carefully open the compartment. Remove the old battery, noting its polarity (+ and -) for correct re-installation. Insert the new battery, aligning the polarity as indicated inside the compartment.
Securely close the battery compartment, ensuring it’s tightly sealed to prevent accidental opening. Dispose of the old battery responsibly, following local regulations for battery disposal. After replacing the battery, test the thermometer to confirm it’s functioning correctly.
Troubleshooting Common Issues
If your Safety 1st thermometer displays an error message, or provides inconsistent readings, several troubleshooting steps can be taken. First, ensure the batteries are fresh and correctly installed. A low battery can cause inaccurate results or a non-functional device. Confirm you’re using the thermometer correctly for the chosen measurement site – oral, rectal, axillary, or forehead.
If the display is blank, double-check the power button and battery compartment. For forehead thermometers, ensure the sensor is clean and properly aligned. If readings seem unusually high or low, re-take the temperature, ensuring proper technique and a stable environment. Clean the thermometer probe with isopropyl alcohol to remove any potential contaminants.
If issues persist, consult the user manual for specific error codes and solutions. If the thermometer is damaged, discontinue use and consider replacement. Remember, a thermometer is a medical device, and accuracy is paramount.
Warranty Information for Safety 1st Thermometers
Safety 1st generally offers a limited warranty on its thermometers, typically covering defects in materials and workmanship. The standard warranty period is 365 days (one year) from the date of original purchase, as seen with the Rapid Read 3-in-1 Thermometer (SKU: TH097). This warranty doesn’t cover damage resulting from misuse, accidents, or unauthorized repairs.
To make a warranty claim, retain your proof of purchase (receipt) and contact Safety 1st customer support. They may request you to return the defective thermometer for inspection. The warranty typically provides for repair or replacement of the defective product, at Safety 1st’s discretion.
Warranty terms can vary by product model and region, so it’s crucial to review the specific warranty information included with your thermometer. Always register your product online to ensure efficient warranty service. Keep the original packaging for potential returns.