Waring Pro Waffle Iron Instructions: A Comprehensive Guide
Today’s date is 02/07/2026. This guide details operation of Waring Pro waffle makers (WMK300A, IB08WR119 & others),
covering setup, waffle creation, maintenance, and safety protocols for optimal results.
Understanding Your Waring Pro Waffle Iron
Your Waring Pro waffle maker, whether a WMK300A, IB08WR119, or another model, is designed for professional-quality waffles at home. These appliances feature stainless-steel construction for durability and efficient heating. Key to operation is understanding the controls – typically including power, ready, and browning adjustment settings.
The WMK300A boasts a unique 180-degree rotating function, ensuring even batter distribution and consistent browning on both waffle plates. Models like the WWCM180/WWCM200 are specifically designed for creating waffle cones. Always consult the owner’s manual before use; it details specific features and safety precautions for your particular model.
Thermal protection is a crucial safety feature, preventing overheating. If power is lost during operation, the unit requires a cooling period before resuming. Familiarizing yourself with these aspects will maximize your waffle-making experience and ensure safe operation.
Model Identification (WMK300A, IB08WR119 & Others)
Waring Pro offers a range of waffle makers, with the WMK300A Professional Stainless-Steel Belgian Waffle Maker being a popular choice. The IB08WR119 is another frequently encountered model, often referred to as the “Professional Belgian” version. Identifying your specific model is crucial for accessing the correct user manual and troubleshooting information.
ManualsLib hosts the IB08WR119 user manual, which may also cover similar models like the Wmk300a and Wmk300. The Internet Archive provides access to Waring PROFESSIONAL BELGIAN WMK300A user manuals. Knowing your model number ensures you’re following the correct instructions for features like the 180-degree rotation (WMK300A) or cone-making capabilities (WWCM180/WWCM200);
Referencing the model number printed on the appliance itself or its packaging will guarantee you have the appropriate guidance for safe and effective waffle creation.
Key Features & Components
Waring Pro waffle makers boast several key features designed for consistent, high-quality results. The WMK300A, for example, features a professional-grade stainless-steel construction for durability and even heating. A prominent feature is the 180-degree rotating function, ensuring batter evenly coats both upper and lower plates, crucial for perfectly cooked waffles.
Models like the WWCM180/WWCM200 are specifically designed for creating waffle cones. Common components include adjustable browning control settings – typically ranging from 1 to 6 – allowing users to customize waffle darkness. Indicator lights clearly signal when the unit is powered on and when it has reached the optimal cooking temperature (“READY”).
Essential components include the non-stick waffle plates, the lid with handle, and the power cord. Thermal protection features are integrated for safety, automatically shutting off the unit to prevent overheating.
Safety Precautions
Always read the owner’s manual thoroughly before using your Waring Pro waffle maker. This appliance gets extremely hot during operation; avoid touching hot surfaces. Use caution when opening the lid, as steam may escape. Never immerse the appliance in water or other liquids to prevent electric shock.
Unplug the waffle maker from the outlet when not in use and before cleaning. Allow the unit to cool completely before handling or cleaning. If power is lost during operation, immediately unplug the unit and let it cool for at least 10 minutes before plugging it back in and resuming use.
Supervise children closely when the appliance is in use. Do not operate the appliance with a damaged cord or plug. The unit incorporates thermal protection; however, never leave it unattended while operating. Ensure proper ventilation during use.

Getting Started: Initial Setup
Begin by unboxing and inspecting your Waring Pro waffle maker. Thoroughly clean the unit before its first use, ensuring a pristine cooking surface for delicious waffles.
Unboxing and Inspection
Carefully remove your Waring Pro waffle maker from its packaging. Before initial use, a thorough inspection is crucial. Verify that all components are present, including the waffle maker itself, the user manual, and any included accessories like batter scoops or cleaning tools.
Inspect the appliance for any visible signs of damage incurred during shipping. Check the power cord for frays or cuts, and examine the waffle plates for scratches or dents. Ensure the hinge mechanism operates smoothly and without resistance. If any damage is detected, do not attempt to operate the unit.
Contact Waring Pro customer support immediately to report the issue and arrange for a replacement or repair. Retain all packaging materials as they may be required for the return process. A careful unboxing and inspection will help ensure a safe and enjoyable waffle-making experience.
Cleaning Before First Use
Prior to your first delicious waffle, a meticulous cleaning process is essential. Unplug the Waring Pro waffle maker and allow it to cool completely. Gently wipe down the exterior surfaces with a damp, soft cloth. Avoid abrasive cleaners, as they can damage the finish.
For the waffle plates, use a slightly damp, non-abrasive sponge or cloth. Do not immerse the waffle maker in water or any other liquid. A mild dish soap can be used sparingly, but ensure all soap residue is thoroughly removed with a clean, damp cloth.
Dry all components completely before operating the appliance. This initial cleaning removes any manufacturing residues and ensures a hygienic cooking surface. Following these steps will contribute to the longevity and performance of your Waring Pro waffle maker, guaranteeing perfectly cooked waffles every time.
Powering On and Initial Heating
Once cleaned and dried, plug your Waring Pro waffle maker into a grounded electrical outlet. The “POWER” indicator light will illuminate, confirming the unit is receiving electricity. Turn the waffle maker on using the power switch. The unit will begin to heat up, and the “READY” indicator light will remain off during this process.
Allow sufficient time for the waffle maker to reach the optimal cooking temperature. This initial heating phase is crucial for achieving evenly cooked and golden-brown waffles. The time required will vary depending on the model, but typically takes several minutes.
The “READY” light will illuminate when the waffle maker has reached the desired temperature and is ready for batter. Avoid opening the lid prematurely, as this can disrupt the heating process. Refer to the indicator lights for accurate temperature readiness.
Understanding the Indicator Lights (Power, Ready)

Your Waring Pro waffle maker utilizes two key indicator lights: “POWER” and “READY”. The “POWER” light simply illuminates when the unit is plugged into a functioning electrical outlet, confirming it’s receiving power. This light remains on throughout operation, regardless of temperature.
The “READY” light is more dynamic. It remains off during the initial heating phase, signaling the unit is still reaching the optimal cooking temperature. Once the waffle maker has achieved the set temperature, the “READY” light will illuminate, indicating it’s prepared to cook waffles.
If power is lost during operation, unplug the unit and allow it to cool for ten minutes before plugging it back in. The “READY” light will cycle through the heating process again. Always consult the owner’s manual for detailed information specific to your model.
Making Perfect Waffles: Step-by-Step
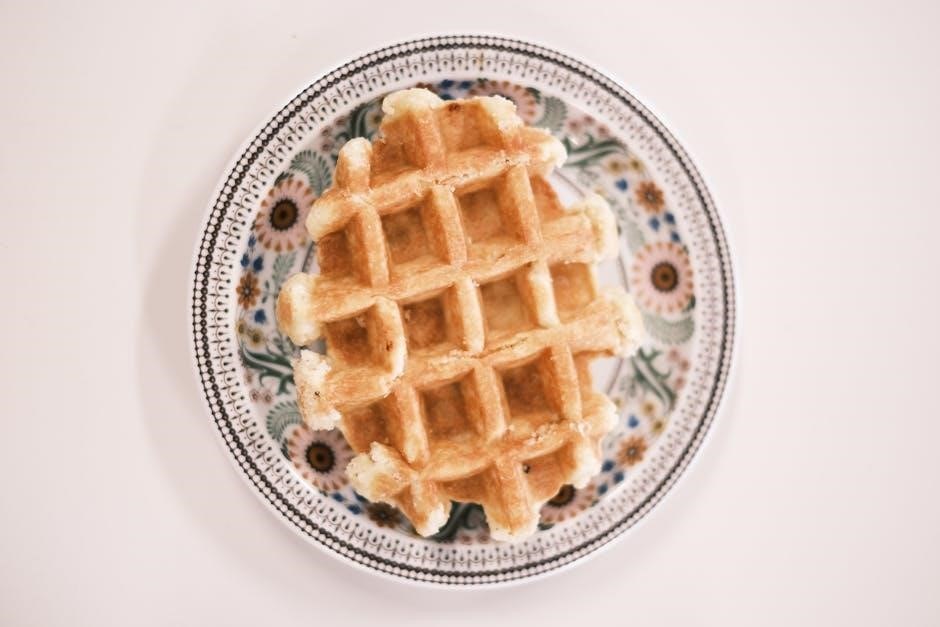
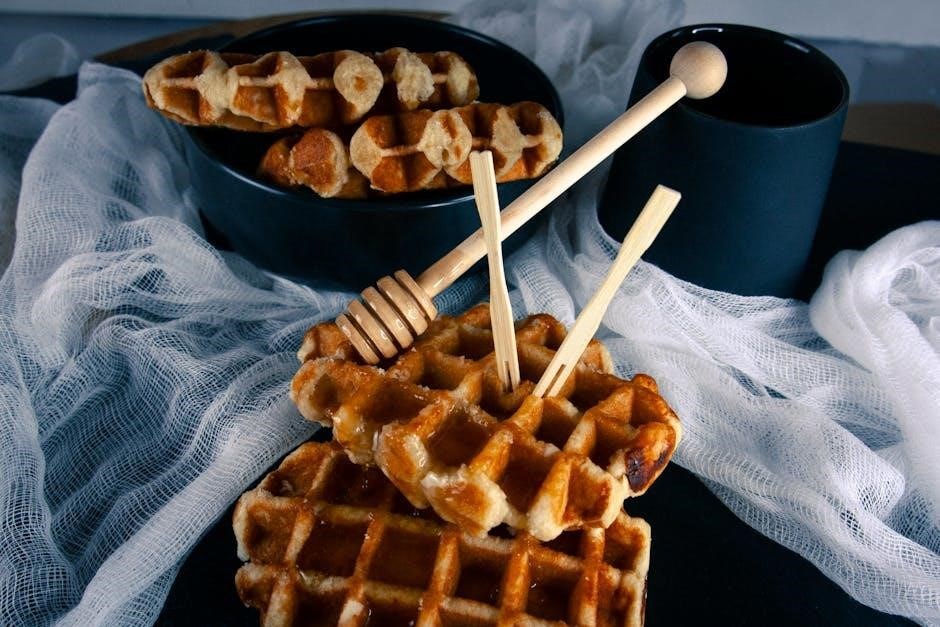
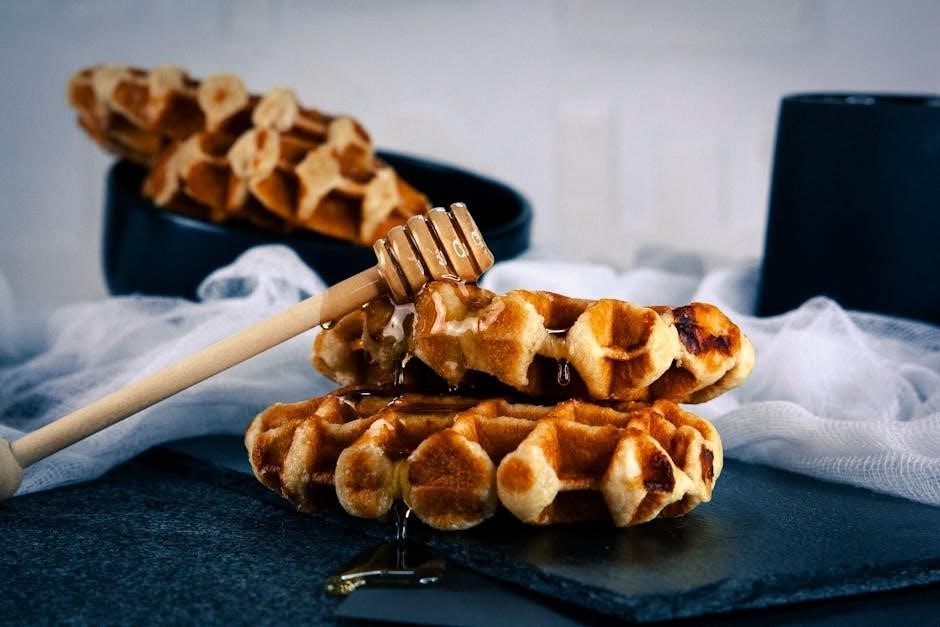
Simply pour batter into the center of the round waffle plate and lower the lid. Utilize the 180-degree rotating function for even coating.
Batter Preparation Tips
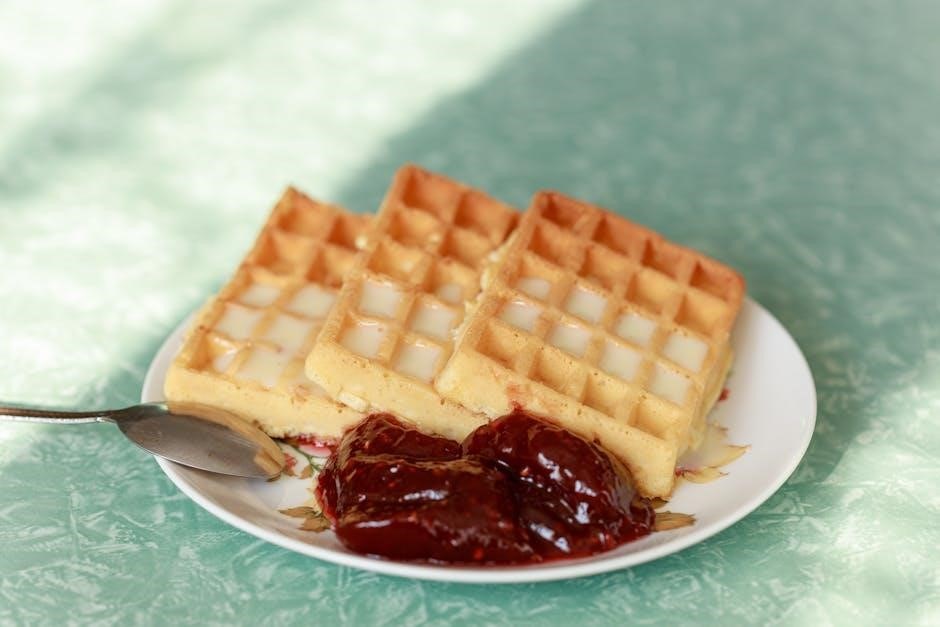
Achieving waffle perfection begins with the batter! For classic waffles, a lighter batter yields crispier results, while Belgian waffle recipes benefit from a slightly thicker consistency. Ensure all ingredients are properly measured – precise ratios are key. Don’t overmix the batter; a few lumps are perfectly acceptable, as overmixing develops gluten, leading to tougher waffles.
Consider letting the batter rest for 5-10 minutes before use. This allows the gluten to relax and the leavening agents to activate, resulting in fluffier waffles. Experiment with different flour types; cake flour creates a tender crumb, while all-purpose flour provides a more robust texture. Adding a touch of melted butter or oil to the batter enhances flavor and promotes browning. Remember to adjust liquid quantities based on your chosen flour type to achieve the desired consistency. A well-prepared batter is the foundation for a truly exceptional waffle experience!
Pouring the Batter – Quantity and Placement
Precise batter application is crucial for evenly cooked waffles. Simply pour the batter into the center of the round-shaped waffle plate, ensuring it doesn’t overflow onto the edges. The amount of batter will vary depending on your waffle maker model and desired thickness; start with approximately ½ to ¾ cup for standard waffles, adjusting as needed.
For the WMK300A, the 180-degree rotating function assists in even batter distribution. Allow the rotation to naturally coat both upper and lower plates. Avoid spreading the batter manually, as this can disrupt the waffle’s texture. Ensure the batter reaches the edges of the grid, but doesn’t exceed them to prevent messy overflow. Consistent batter quantity and central placement are key to achieving golden-brown, uniformly cooked waffles every time. Experiment to find the perfect amount for your preferred waffle!
Utilizing the 180-Degree Rotating Function (WMK300A)
The Waring Pro WMK300A boasts a unique 180-degree rotating feature designed for superior waffle consistency. After pouring batter into the center of the waffle plate and closing the lid, gently initiate the rotation. This function evenly distributes the batter across both the upper and lower plates, ensuring uniform cooking and a beautifully browned waffle.
Avoid forcing the rotation; let the mechanism work smoothly. The rotating action helps to compensate for any slight unevenness in batter placement. It’s particularly beneficial for Belgian waffles, maximizing their rise and creating deep pockets. Monitor the waffle during rotation to ensure even coverage. Once the waffle is cooked to your desired level, the rotation will naturally stop, signaling readiness. This feature minimizes the need for manual adjustments and delivers consistently perfect waffles.
Adjusting Browning Control Settings
The Waring Pro waffle maker features adjustable browning control, typically ranging from 1 to 6, allowing customization of waffle color and crispness. Lower settings (1-3) yield lighter, softer waffles, ideal for those who prefer a less crispy texture. Higher settings (4-6) produce darker, crispier waffles, perfect for a more substantial bite.
Begin with a mid-range setting (3 or 4) and adjust based on your preference and batter type; Different batters may require varying settings to achieve optimal results. Monitor the waffle closely during the first cycle to determine the appropriate setting for your desired level of browning. Remember that thicker batters generally require longer cooking times and potentially higher settings. Experimentation is key to finding your perfect waffle!
Advanced Techniques & Recipes
Explore diverse waffle creations! From Belgian to traditional recipes, and waffle cones (WWCM180/WWCM200), experiment with flavors, add-ins, and gluten-free/vegan options for delicious results.
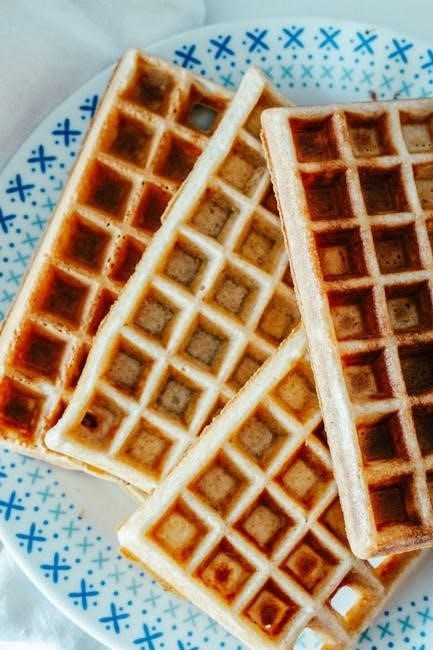
Belgian Waffle vs. Traditional Waffle Recipes
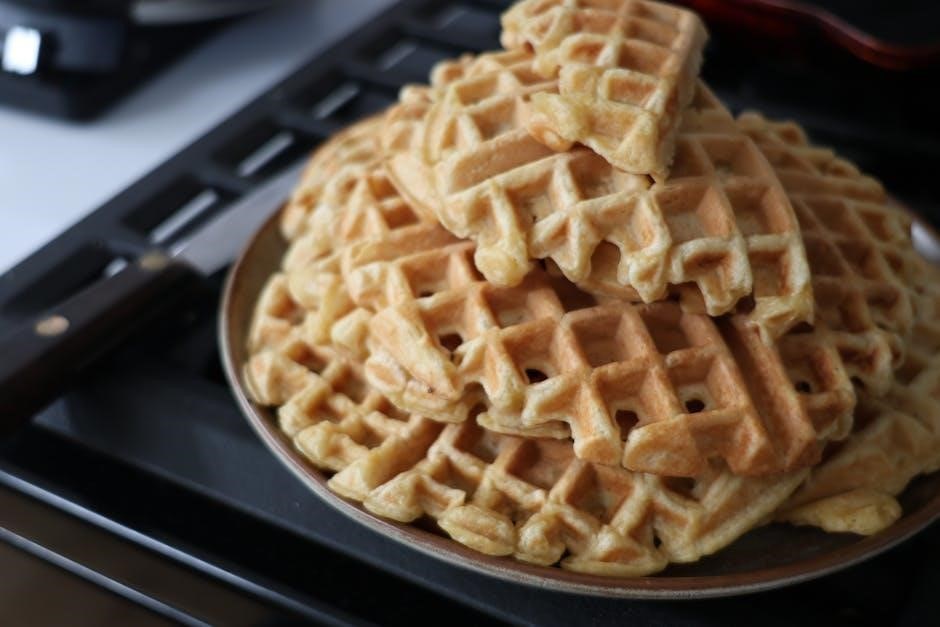
Distinguishing between Belgian and traditional waffles lies primarily in their texture and depth. Belgian waffles, typically made with a yeast-leavened batter, boast deeper pockets – perfect for holding generous toppings like fruit, whipped cream, and syrup. The Waring Pro waffle maker excels at creating these impressively thick waffles, thanks to its even heating and generous plate size.
Traditional waffles, conversely, generally utilize a batter leavened with baking powder or baking soda, resulting in a thinner, crisper waffle. While still delicious, they offer a different textural experience. Adjusting your batter recipe is key; Belgian waffle batters are often richer, incorporating more eggs and butter for a tender crumb.
Experimenting with both styles on your Waring Pro unit allows you to discover your preference. Remember that the browning control settings will influence the final crispness, regardless of the recipe. For optimal Belgian waffle results, ensure sufficient batter is used to fill the deeper pockets of the waffle plates.
Waffle Cone Rolling Directions (WWCM180/WWCM200)
Creating perfect waffle cones with your Waring Pro WWCM180/WWCM200 is a delightful process. Once the unit beeps, signaling waffle readiness, carefully remove the hot, flat waffle from the grid iron. Speed is crucial, as they become pliable quickly. Immediately, and with caution due to the heat, begin rolling the waffle into a cone shape.
A cone-rolling tool can be immensely helpful for achieving a uniform shape, but a wooden spoon handle or similar cylindrical object works well too. Roll firmly but gently to avoid cracking. Hold the cone shape for a few seconds to allow it to set.
If the waffle cools too much and becomes brittle, briefly return it to the hot plate for a few seconds to regain pliability. Practice makes perfect! These homemade waffle cones are ideal for ice cream, whipped cream, or other sweet treats. Enjoy the fresh, crispy results!
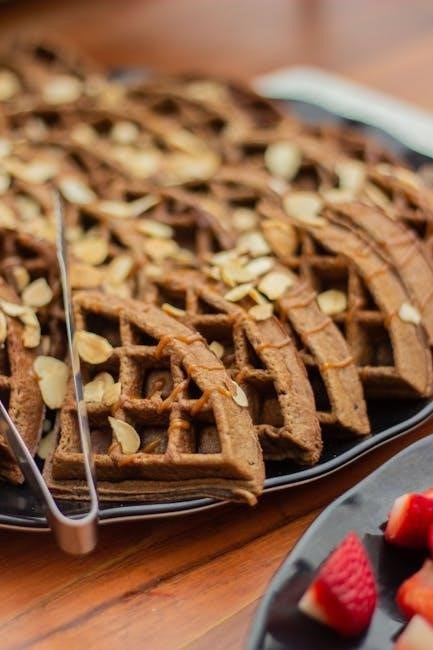
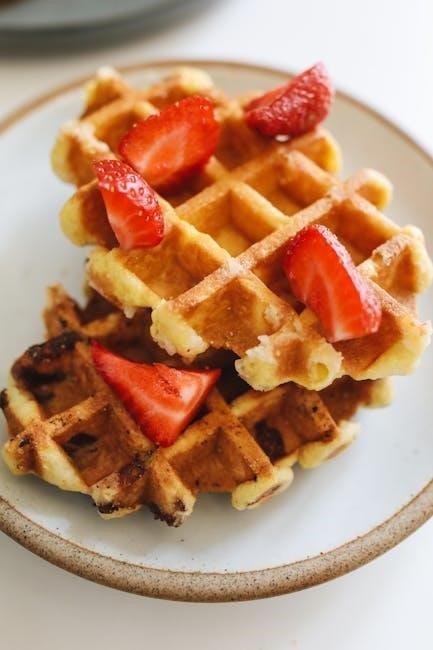
Experimenting with Flavors and Add-Ins
Unleash your culinary creativity with the Waring Pro waffle maker! Beyond classic waffles, a world of flavor combinations awaits. Enhance your batter with extracts like vanilla, almond, or lemon for subtle aromatic notes. Incorporate spices – cinnamon, nutmeg, or cardamom – for warmth and depth.
For textural interest, fold in chocolate chips, blueberries, raspberries, or chopped nuts. Consider savory waffles by adding herbs, cheese, or even cooked bacon bits. Don’t be afraid to experiment with different flours, like whole wheat or buckwheat, for unique tastes and textures.
A swirl of peanut butter or Nutella after pouring the batter adds a decadent touch. Remember to adjust the browning control to accommodate wetter batters. Explore endless possibilities and create signature waffle recipes tailored to your preferences!
Creating Gluten-Free or Vegan Waffles
Adapting your waffles for dietary needs is simple with the Waring Pro! For gluten-free waffles, substitute all-purpose flour with a gluten-free blend. Ensure the blend contains xanthan gum for binding, mimicking gluten’s elasticity. Bob’s Red Mill 1-to-1 Baking Flour is a popular choice, yielding excellent results.
To create vegan waffles, replace dairy milk with plant-based alternatives like almond, soy, or oat milk. Substitute eggs with flax eggs (1 tbsp flaxseed meal + 3 tbsp water, let sit 5 minutes) or mashed banana. Vegan butter can replace traditional butter;
Monitor the batter consistency; gluten-free and vegan batters may require slight adjustments to liquid. The 180-degree rotation feature ensures even cooking, crucial for these alternative batters. Enjoy delicious waffles regardless of dietary restrictions!
Maintenance and Troubleshooting
Regular cleaning and understanding thermal protection are key. If power is lost, unplug, cool for ten minutes, then resume. Address batter overflow promptly for optimal performance.
Cleaning Procedures After Each Use
Consistent cleaning ensures longevity and optimal performance of your Waring Pro waffle maker. Always unplug the unit and allow it to cool completely before beginning any cleaning process. Gently wipe the exterior surfaces with a damp cloth; avoid abrasive cleaners that could damage the finish. For the waffle plates, use a non-abrasive brush or sponge to remove any residual batter.
Avoid immersing the waffle maker in water or any other liquid. A slightly damp cloth is sufficient for cleaning the plates. For stubborn batter residue, a paste of baking soda and water can be applied gently, followed by wiping with a clean, damp cloth. Ensure all cleaning agents are thoroughly removed before storing or using the appliance again.
Do not use metal utensils as they can scratch the non-stick coating. Regular cleaning after each use prevents buildup and ensures consistently delicious waffles. Proper maintenance extends the life of your Waring Pro waffle maker and maintains its efficiency.
Thermal Protection & Resetting the Unit
Your Waring Pro waffle maker is equipped with thermal protection to prevent overheating and ensure safe operation. If power is lost during waffle making, or the unit overheats, the thermal protection feature will automatically activate, shutting off the appliance. Do not attempt to force the unit to operate during this time.
To reset the unit, unplug it from the power outlet and allow it to cool for a minimum of 10 minutes. This cooling period is crucial for the thermal protection system to reset itself. After 10 minutes, plug the waffle maker back in. The indicator lights should illuminate, signaling that it’s ready for use.
Repeated activation of the thermal protection may indicate a problem. If the unit continues to shut off, discontinue use and contact Waring Pro customer support for assistance. Ignoring this warning could lead to damage or pose a safety hazard. Always prioritize safety when operating your appliance.
Addressing Power Loss During Operation
Unexpected power interruptions can occur while making waffles. If power is lost to your Waring Pro waffle maker mid-cycle, do not panic. The unit’s thermal protection system will likely engage, shutting down operation to prevent damage. Avoid attempting to restart the process immediately.
First, unplug the waffle maker from the electrical outlet. This ensures complete power disconnection and allows the unit to cool safely. Allow a minimum of 10 minutes for the appliance to cool down completely before attempting to resume. After the cooling period, plug the waffle maker back in.
The indicator lights will signal when the unit is ready. You can then continue making waffles from where you left off, though the waffle may require slightly adjusted cooking time. Consistent power loss may indicate an electrical issue; consult an electrician if problems persist.
Dealing with Batter Overflow
Batter overflow is a common issue, especially with thinner batters or excessive pouring. If batter spills during waffle making, immediately unplug the Waring Pro waffle maker from the power outlet to prevent electrical hazards and potential damage to the unit’s internal components. Allow the appliance to cool down completely before attempting any cleanup.
Carefully wipe away any spilled batter from the exterior of the waffle maker using a damp cloth. Avoid getting moisture inside the unit. For batter that has seeped into the grid, gently scrape it away with a non-abrasive spatula or wooden utensil once cooled. Never use metal utensils, as they can damage the non-stick coating.
To minimize overflow, use the recommended batter quantity and ensure even distribution; The 180-degree rotating function (on WMK300A models) aids in even batter spread. Adjust browning settings to prevent rapid expansion.
Safety & Warranty Information
Thermal protection is a key safety feature. Review warranty details and registration procedures, alongside crucial safety reminders, and contact Waring Pro support if needed.
Thermal Protection Details
The Waring Pro waffle maker incorporates a robust thermal protection system designed to ensure safe operation and prevent overheating. If power is unexpectedly lost during the waffle-making process, the unit will automatically shut down. To resume operation, simply unplug the waffle maker and allow it to cool for a minimum of ten minutes.
After the cooling period, plug the unit back in, and it should be ready to continue making waffles. This feature safeguards against potential damage to the internal components and minimizes any safety risks. The system is a crucial element in the waffle maker’s design, providing peace of mind during each use. Always refer to the owner’s manual for complete details and troubleshooting steps related to thermal protection.
Warranty Information and Registration
Waring Pro stands behind the quality of its waffle makers with a comprehensive warranty program. Specific warranty terms and duration vary by model, but generally cover defects in materials and workmanship under normal household use. To validate your warranty and ensure eligibility for service, it is essential to register your product promptly after purchase.
Registration can typically be completed online through the Waring Pro website. Keep your proof of purchase (receipt or invoice) readily available, as it will be required during the registration process. Detailed warranty information, including exclusions and limitations, is outlined in the owner’s manual included with your waffle maker. Registering your product streamlines any potential warranty claims and demonstrates your ownership.
Important Safety Reminders
Always read the owner’s manual thoroughly before operating your Waring Pro waffle maker. Never immerse the appliance in water or any other liquid to prevent electric shock. Exercise extreme caution when handling hot surfaces; use oven mitts or heat-resistant utensils. Unplug the waffle maker from the outlet when not in use and before cleaning.
If power is lost during operation, immediately unplug the unit and allow it to cool for at least ten minutes before reconnecting; Do not operate the appliance with a damaged cord or plug. Avoid using extension cords. Supervise children closely when the waffle maker is in use. Never leave the appliance unattended while operating. Thermal protection features are in place, but safe operation remains the user’s responsibility.
Contacting Waring Pro Customer Support
For assistance with your Waring Pro waffle maker, or to register your warranty, reaching out to their customer support team is recommended. While specific contact details aren’t explicitly provided in the sourced information, generally, appliance manufacturers offer support through multiple channels.
Check the official Waring Pro website for a dedicated support section, frequently asked questions (FAQs), and troubleshooting guides. Look for a “Contact Us” page which typically lists a phone number and email address for direct communication. You may also find helpful resources on retailer websites like Amazon, where the WMK300A is sold. Be prepared to provide your model number (WMK300A, IB08WR119, etc.) and purchase date when contacting support to expedite the process. Prompt assistance ensures optimal waffle-making enjoyment!